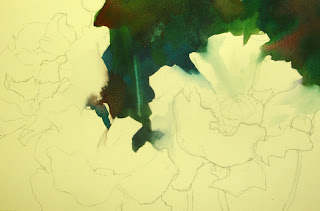
 We are into a floral unit in my Wednesday morning watercolour class. This is a demo I did to show the students how to begin with a dark yet lively background wash, before putting in the flower colours. This is especially important for white or light coloured flowers, because the tendency is to make the petals too dark in the beginning, when painting them against the white of the paper. The dark washes remain lively if painted with very juicy paint, changing the colours every few strokes using a 1" flat brush. As shown in the above photo, I chose a large, but defined negative shape to begin with, puddling in the colour. While that wash was still wet, I softened some of the edges with a clean, slightly damp brush. This ensures that the flowers will not look cut-out and pasted on the background.
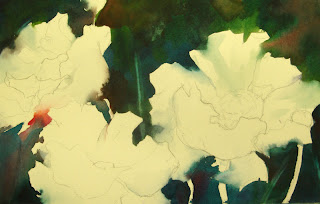 I continued in this same way, painting in all the negative spaces, softening their edges before moving on to the next shape. I puddled some orange into the dark wash to give the hint of other flowers in the background.
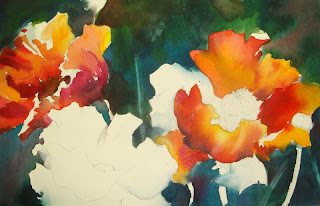 Then I began putting the first washes into the poppies, moving around to let some areas dry before coming back in with further washes to they wouldn't bleed together. I tried to use a variety of reds, yellows and violets to keep the colour interesting. The colour near the middles of the flowers is warm, and then it cools as it moves away from the centre. It is important to paint from a puddle of rich colour so that it will stay wet long enough to be able to puddle other colours into it.
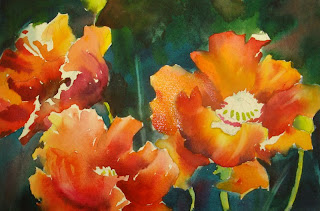 Now all the orangey reds are in. I have left some white space that I will come into later with some lighter yellows and peaches.
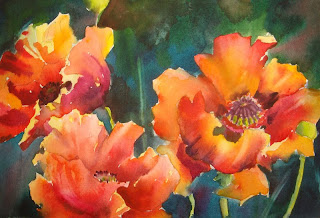 Now all the white paper has been covered up, and this is the end of this stage of the painting. Notice how the original softening of the edges remain, making the flowers blend a bit with the background. Stay tuned next week for the exciting (I hope!) conclusion, where I will be demonstrating lifting out -something that I believe is very important to get the look of translucency of the petals.
Enjoy!

Thank so much for sharing that Sharon. I don't do water colours but would love to give this a try - inspired by you.
ReplyDeleteThanks for sharing your technique. I can't wait to see the lifting out. I live flower paintings but seldom try them because I am never satisfied with my results.
ReplyDeleteJean
Thanks Sharon, I love seeing your methods
ReplyDeleteThis is a great foto step by step demo.....wonderful instruction and I love the end result....thanks for the inspiration to start off my week!!
ReplyDeleteWow so bright, bold and absolutely stunning. Can't wait for the follow up.
ReplyDeleteJanis
Thank you for this step-by-step. I find that posts like this are so helpful, and your technique such a fine example.
ReplyDeleteHey guys, you are the best! Thanks for taking the time to comment.
ReplyDelete